Removing a screen protector from your iPhone can be a meticulous task, but it’s essential for maintaining the clarity and responsiveness of your screen. Follow this comprehensive guide to ensure you remove the protector without causing any damage.
Introduction
Screen protectors serve as an invaluable barrier against scratches and impacts on your iPhone. However, over time, they can degrade or become damaged, necessitating their removal and replacement. Whether dealing with persistent bubbles, scratches, or a protector that’s started peeling at the edges, knowing how to remove a screen protector without damaging your phone is crucial.
Why You Might Need to Remove a Screen Protector
Understanding the reasons for screen protector removal can guide you in recognizing when it’s time for a change. Common reasons include:
- Scratches and Wear: Over time, even the toughest protectors can get scratched, affecting screen usability.
- Persistent Bubbles: These can be distracting and may impair visibility.
- Dirt and Contaminants: Build-up along the edges can lead to peeling.
- Upgraded Options: Newer protectors offer better clarity and protection.
Each of these issues signals it’s time to replace your screen protector, which involves careful preparation and technique.
Preparing for Successful Screen Protector Removal
Proper preparation ensures a smooth process and minimizes the risk of damaging your iPhone’s screen. Here’s how to prep:
Gathering the Necessary Tools
Before starting, ensure you have a few essential items on hand:
– Microfiber Cloth: For cleaning the screen post-removal.
– Plastic Card or Tool: To help lift the protector gently.
– Rubbing Alcohol and Adhesive Remover: In case of stubborn residue.
Setting Up Your Workspace
- Choose a Clean, Well-Lit Area: This reduces the chances of dust contaminating the screen.
- Ensure a Stable Work Surface: A table or desk provides optimal stability.
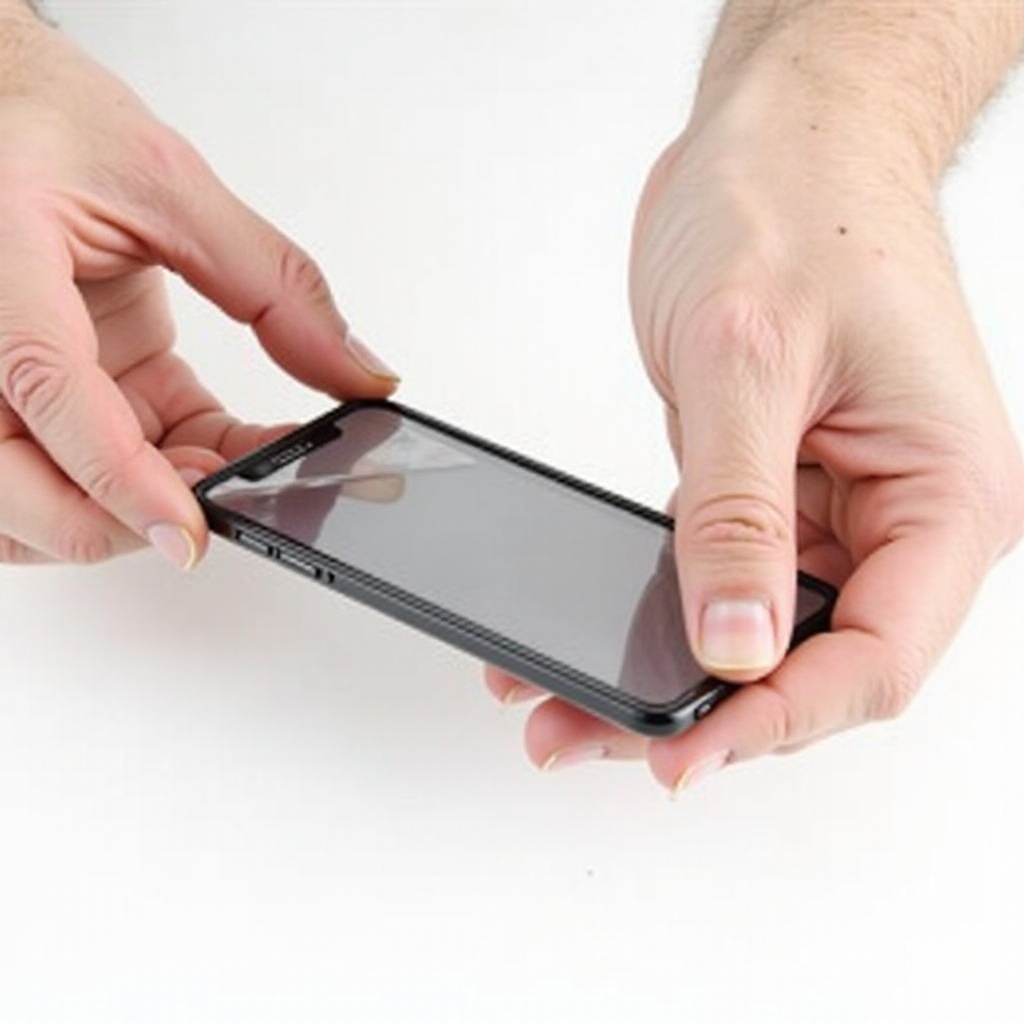
- Turn Off Your iPhone: Prevents accidental inputs or damages during the process.
With everything ready, you can proceed to the actual removal of the screen protector.
Step-by-Step Guide to Removing a Screen Protector
Removing a screen protector doesn’t have to be fraught with anxiety. Follow these simple steps:
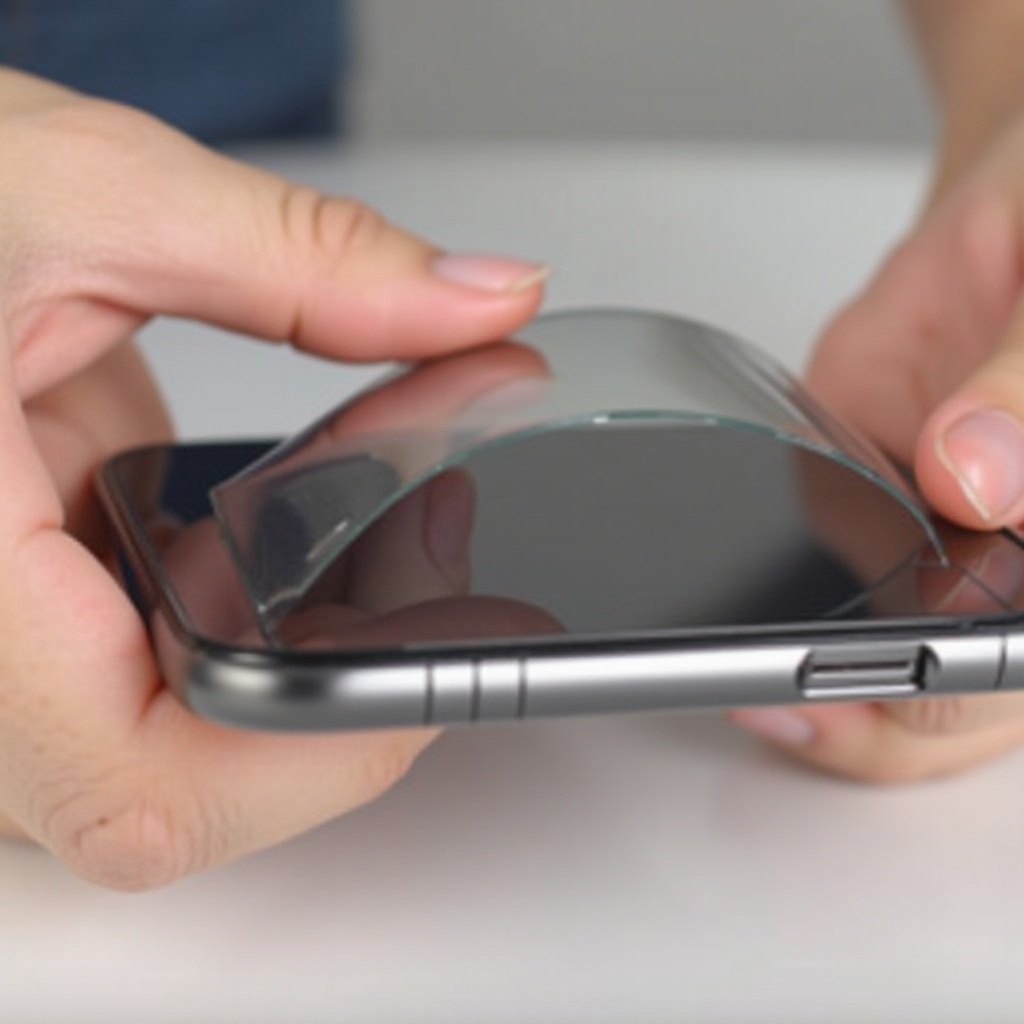
Starting at the Edges
- Identify a Loose Corner: Start at a corner where the adhesive might be weaker.
- Gently Insert a Plastic Card: Slide it beneath the edge to lift it.
Lifting the Protector Off
- Carefully Peel Back the Protector: Use slow, steady pressure to avoid cracking the protector’s glass.
- Maintain Equal Pressure: This helps ensure the protector doesn’t snap unexpectedly.
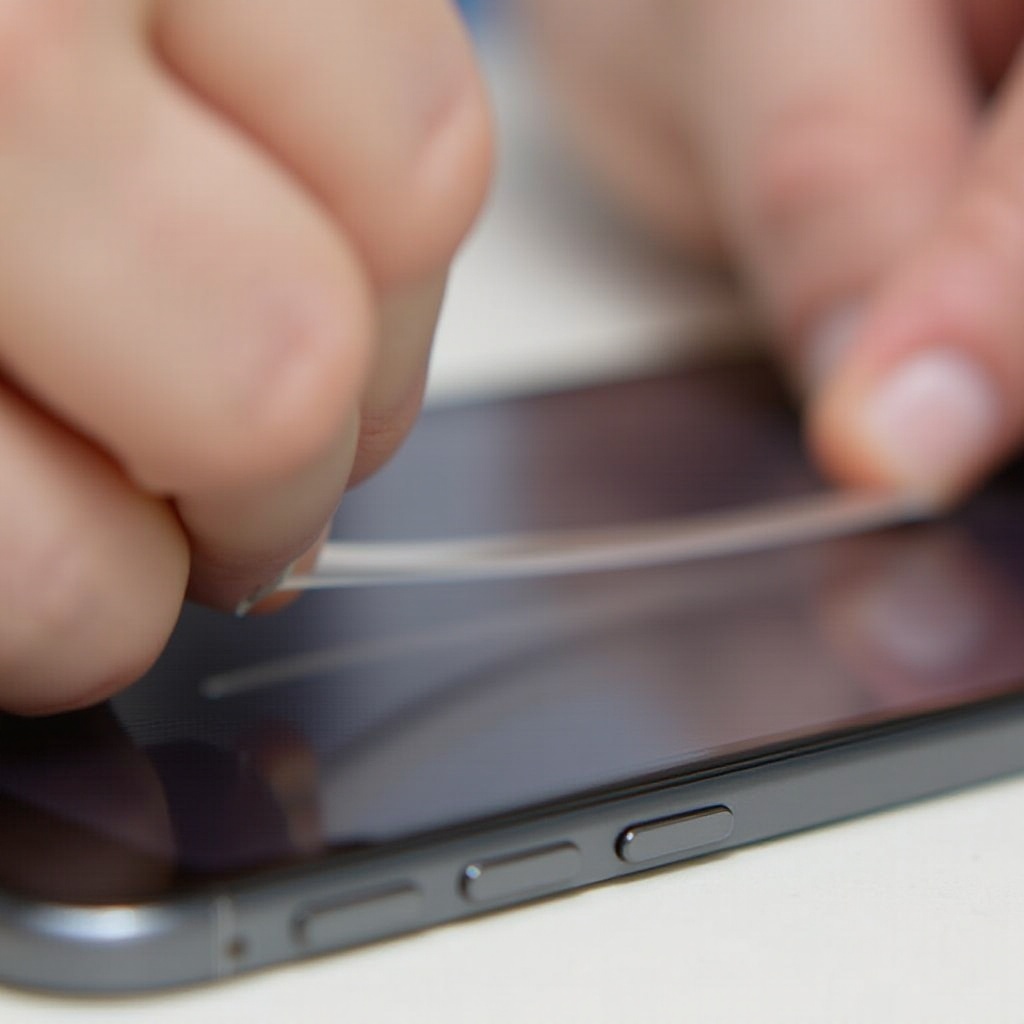
Managing Stubborn Sections
- Use Gentle Heat if Necessary: Apply minimal heat with a hairdryer if the protector refuses to budge.
These steps should leave you with a clear screen but may also leave some adhesive behind, which you’ll address next.
Cleaning Up: Removing Residual Adhesive
Once the protector is removed, you might notice residue left on your iPhone. Here’s how to handle it:
Choosing the Right Cleaning Solution
- Water or Cleaner on a Microfiber Cloth: Often all that’s needed for minor residues.
- Dab Rubbing Alcohol: For tougher spots, mix with water and apply gently.
How to Apply and Remove the Adhesive Safely
- Use Circular Motions: This prevents streaks and ensures thorough cleaning.
- Light Application: Avoid letting any liquid seep into phone crevices.
This cleaning ensures the screen is ready for another protector or just regular use.
Post-Removal Care for Your iPhone
Your phone’s screen is now bare, which makes it vulnerable until another protector is applied:
- Regular Cleaning Practice: Wipe regularly with a microfiber cloth to avoid fingerprints and smudges.
- Avoid Direct Sunlight: This can reduce screen glare and protect from potential heat damage.
- Install a New Protector: Choose a high-quality, recent model for optimal protection.
By following these maintenance guidelines, you maintain your phone’s appearance and functionality.
Key Tips to Prevent Screen Damage
To keep your iPhone’s screen in top shape post-removal, consider these precautions:
- Use a Protective Case: Helps cushion the phone against drops and impacts.
- Avoid Sharp Objects: Prevents accidental scratches when placed in pockets or bags.
- Regular Inspections: Ensure no dirt or objects are embedded between the case and screen protector.
Taking these measures will help secure your phone against unnecessary damage. Next, we’ll wrap up this guide.
Conclusion
Successfully removing an iPhone screen protector involves preparation, patience, and the right technique. By following these steps, you’ll be able to safely remove your protector, leaving your phone ready for its next shield or enjoying it bare. Be sure to reapply a new protector as soon as possible to keep your screen in pristine condition and to benefit from continuous protection.
Frequently Asked Questions
How often should I replace a screen protector on my iPhone?
It depends on wear and tear, but typically every 1-2 years or when visible damage occurs.
What if my screen protector leaves behind strong adhesive residue?
Use rubbing alcohol or a commercial adhesive remover with caution to clean your screen.
Can I reuse an old screen protector after removal?
It’s generally not recommended, as adhesive properties weaken after removal, preventing proper reapplication.