
Introduction
Learning to disassemble your Xbox Series S can be invaluable for gamers seeking to maintain or repair their consoles. Whether you’re aiming to clean internal parts, perform minor repairs, or explore your device’s internals, following this guide will help you do so without causing harm.
Tools and Preparations
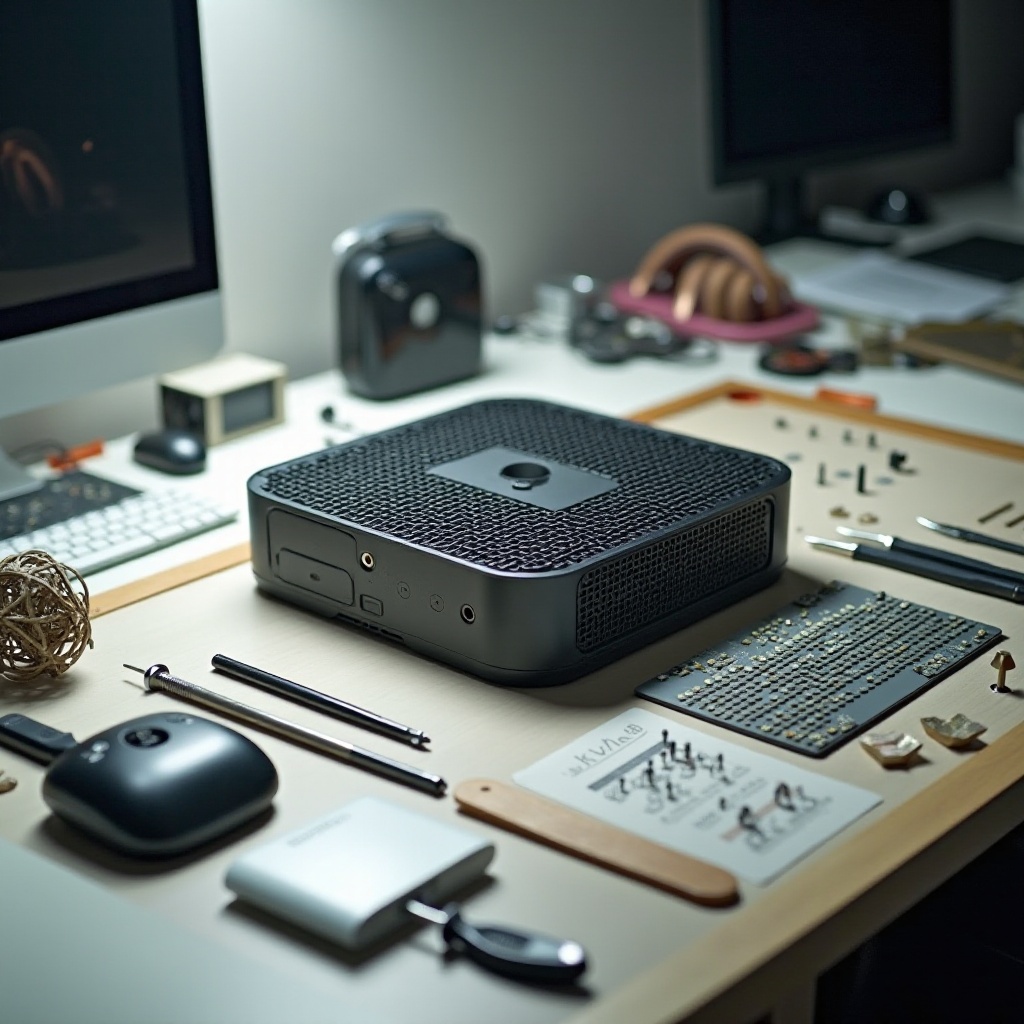
Before you begin, it’s crucial to have the appropriate tools and workspace set up. Proper preparation ensures a smooth process, preventing potential damage.
- Essential Tools:
- Torx T8 and T10 screwdrivers
- Plastic prying tools
- Tweezers
-
Optional: Anti-static wrist strap
-
Safety Precautions:
Keeping yourself and your console safe is of utmost importance. Here are precautions to consider: - Unplug the console from any power source.
- Wear an anti-static wrist strap to protect against static damage.
-
Handle components with care to avoid breakage.
-
Setting Up Your Workspace:
Ensuring your workspace is organized is essential: - Work on a clean, flat, non-static surface.
- Use a container for screws and small components.
- Ensure the area is well-lit for visibility.
Having prepared your tools and workspace, it’s time to move on to the actual disassembly of your Xbox Series S.
Step-by-Step Disassembly Instructions
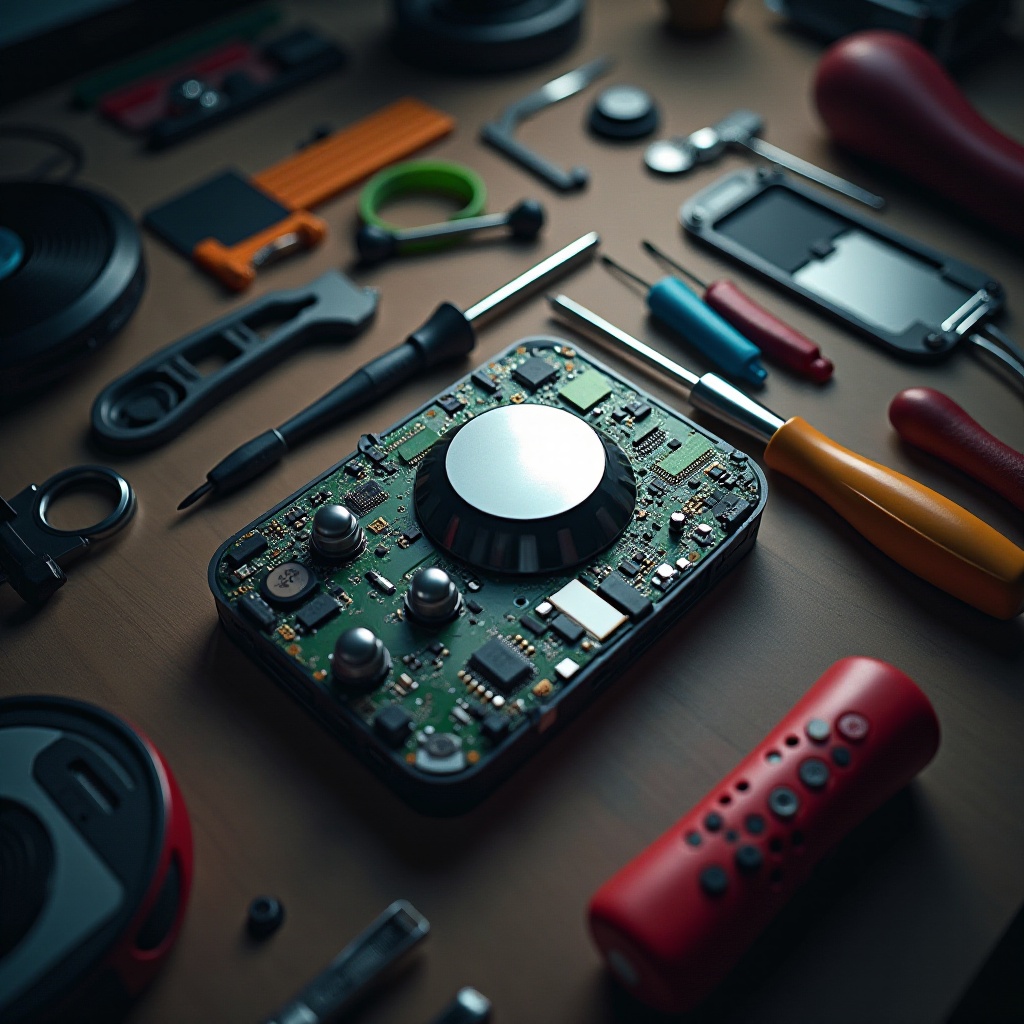
To properly disassemble your Xbox Series S, follow these detailed steps:
- Removing the Outer Shell:
- With a Torx T8 screwdriver, remove the screws underneath the console.
- Use a plastic prying tool to gently detach the shell.
-
Lift the shell carefully to reveal the internal components.
-
Accessing Internal Components:
- Identify additional screws inside and remove them to free the internal panels.
- Use tweezers to cautiously disconnect visible cables.
-
Gently detach panels allowing access to the interior parts.
-
Detaching the Motherboard and Components:
- Unscrew the motherboard using the Torx T10 screwdriver.
- Remove any brackets or securing components.
- Lift out the motherboard attentively to avoid damage.
With the disassembly complete, it’s now time to clean and maintain the internal components, ensuring your console remains in top condition.
Cleaning and Maintenance Tips
Proper maintenance of your Xbox Series S is essential for its performance and longevity. Here’s how to conduct maintenance safely:
- Recommended Cleaning Tools:
- Soft brushes
- Canned air or an air blower
-
Isopropyl alcohol with cotton swabs
-
Safe Cleaning Practices:
- Gently brush off dust from components.
- Use canned air for hard-to-reach areas.
- Lightly clean sensitive parts like the motherboard with isopropyl alcohol.
Keeping your console clean helps prevent issues like overheating. Next, you will reassemble the Xbox Series S to restore it to its original state.
Reassembling the Xbox Series S
After cleaning, follow these steps to reassemble your Xbox Series S:
- Step-by-Step Reassembly:
- Place the motherboard carefully back into the console.
- Reattach all previously disconnected cables securely.
-
Reinstall any removed panels and tighten screws.
-
Double-Checking Tasks:
- Verify that all components are correctly seated.
-
Ensure no screws are missing or misplaced.
-
Testing Your Console:
Plug the console back in and test to confirm everything works correctly.
Reassembling ensures your Xbox Series S is ready for use. If any issues arise post-reassembly, you may need to troubleshoot common problems.
Troubleshooting Common Problems
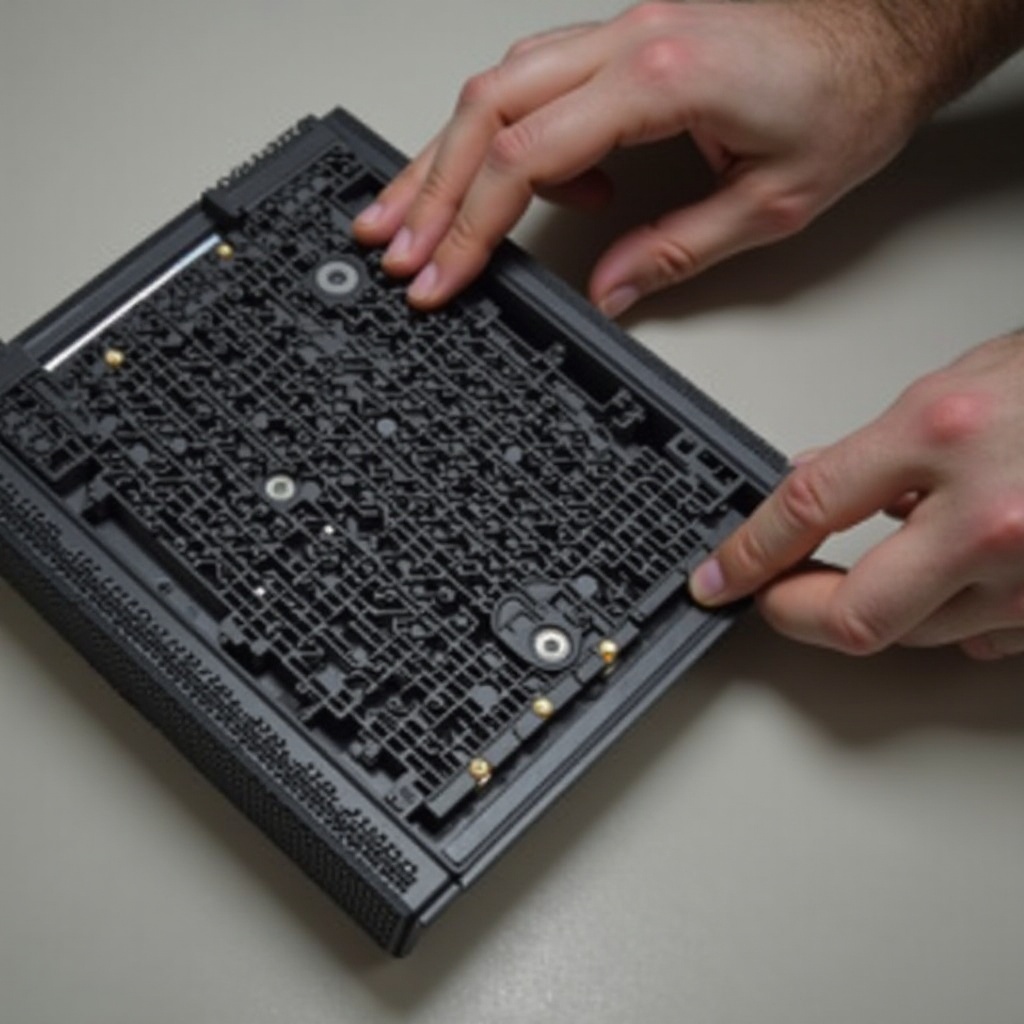
If your Xbox Series S isn’t operating as expected, consider the following troubleshooting tips including when to seek professional assistance:
- Troubleshooting Tips:
- Double-check all internal connections if the console doesn’t power on.
-
Look for misplaced screws that may cause issues.
-
Identifying Common Issues:
-
Run through each disassembly and reassembly step again if you encounter problems.
-
When to Seek Professional Help:
If issues persist or exceed your capabilities, contact professional repair services.
Conclusion
Disassembling your Xbox Series S provides insight into its workings and helps maintain its performance. Always exercise caution, and follow this guide closely. Regular maintenance not only extends the lifespan of your console but ensures it remains in top condition.
Frequently Asked Questions
Is disassembling my Xbox Series S safe?
Disassembling is safe if you follow proper procedures and precautions. Use the right tools and handle components carefully to avoid damage.
Will disassembling void my warranty?
Yes, disassembling your Xbox Series S will void the warranty. Consider this before proceeding if your console is still under warranty.
Can I upgrade my Xbox Series S during disassembly?
While some hardware modifications can be made, ensure compatibility and remember that any modifications may void the warranty.