Introduction
Installing a Rivian wall charger in your home can dramatically enhance your electric vehicle (EV) experience. No longer will you rely solely on public charging points; a personal charger ensures your vehicle is always powered up and ready to go. This comprehensive Rivian wall charger installation guide dives deep into the installation process, ensuring a seamless setup.
Understanding the Importance of a Wall Charger
A dedicated wall charger offers Rivian owners several significant benefits. It provides faster charging times compared to standard outlets and offers unparalleled convenience. With a home charger, you’ll no longer struggle with finding a public charger, waiting in lines, or worrying about its functionality.
Beyond convenience, a home charger lets you take advantage of off-peak electricity rates, offering potential savings on your energy bills. Given the increasing prevalence of EVs, investing in a high-quality wall charger can greatly enhance your EV experience and provide long-term benefits.
Pre-Installation Considerations
Before embarking on the installation journey, assessing the electrical infrastructure of your home is critical. While most homes are equipped to handle a Rivian wall charger, you must ensure your existing system supports the charger’s requirements. Confirm the main electrical panel has available capacity and space for a new circuit breaker.
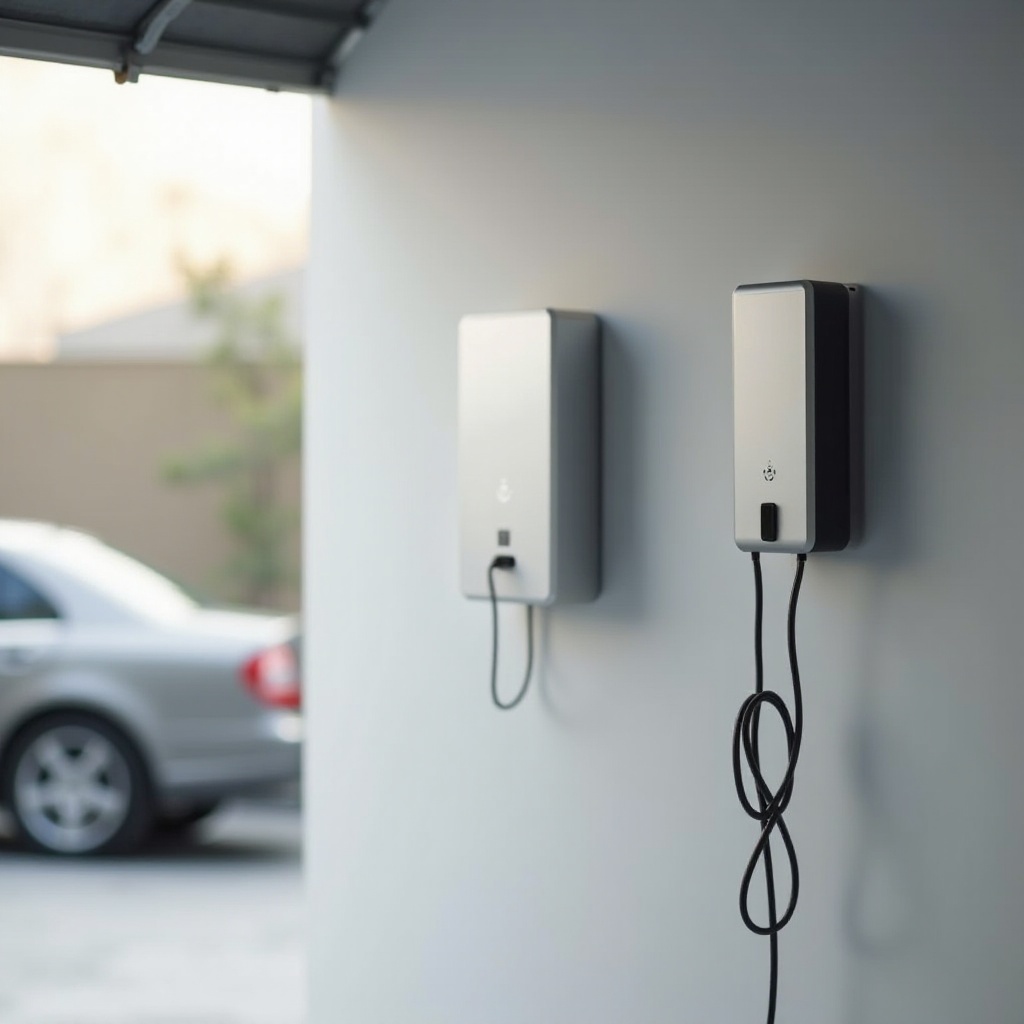
Location is another crucial factor. The ideal spot should facilitate easy access to your vehicle and, if installed outside, be protected from weather elements. Also, verify that the selected location complies with local building codes and regulations to avoid potential issues down the road.
Tools and Equipment Needed
Preparing the tools and equipment ahead of time guarantees a smooth and efficient installation process. Here’s what you’ll need:
- Rivian wall charger
- 50-amp circuit breaker
- Screwdriver set
- Wall anchors and mounting screws
- Drill and bits
- Voltage tester
- Conduit and wire strippers
- Electrical tape
Having these tools at hand will ensure that you can proceed without disruptions during the installation process.
Step-by-Step Installation Process
Turning Off the Power
First and foremost, prioritize safety. Before starting any work, turn off the power to the designated area. Use a voltage tester to confirm the power is off, eliminating the risk of electric shock.
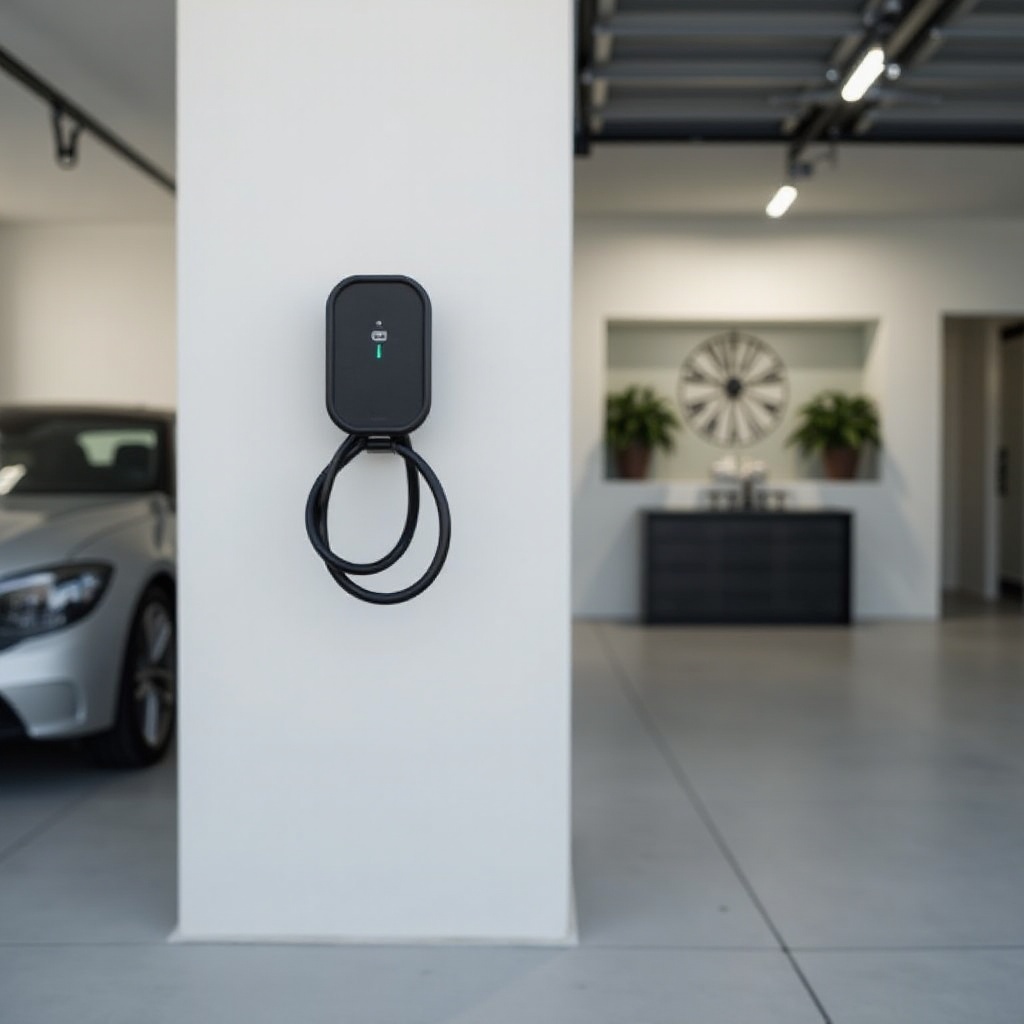
Mounting the Charger
- Determine the optimal height and position for the charger.
- Use the provided template to mark the mounting holes.
- Drill holes and, if necessary, install wall anchors.
- Secure the charger unit with mounting screws, ensuring it is firmly attached.
Connecting the Wiring
- Run conduit from the electrical panel to the charger, adhering to local codes.
- Strip the wires and connect them to the designated terminals on the charger.
- Connect the ground wire to the appointed grounding point.
- Tighten all connections securely using a screwdriver.
Finalizing and Testing the Installation
- Double-check all connections for accuracy.
- Restore power to the electrical panel.
- Turn on the charger and confirm functionality using the built-in indicator lights.
- Conduct a test charge with your Rivian vehicle.
Ensuring Safety During Installation
Safety is of utmost importance when dealing with electrical installations. Double-check that the power is off before beginning any work. Wear appropriate protective gear, such as gloves and safety glasses. If you encounter uncertainties, refer to the charger’s manual or seek help from a licensed electrician.
Professional vs. DIY Installation
While a DIY installation can be cost-effective, it requires a solid understanding of electrical systems. If you are uneasy with any part of the process, hiring a professional is wise. They ensure a safe and compliant installation, are well-versed in local codes, and can handle unexpected complications. The added expense may be well worth the peace of mind.
Post-Installation Tips
After the installation of your Rivian wall charger, regular maintenance is key for longevity. Periodically inspect the charger and cables for wear and tear. Clean the charging port regularly to keep it free of debris. Should you notice any irregularities or malfunctions, refer to the user manual or contact Rivian support.
Conclusion
Investing in a Rivian wall charger is advantageous for any EV owner, providing a reliable and efficient home charging solution. By following this guide, you ensure a seamless and safe installation process, enhancing your EV charging experience.
Frequently Asked Questions
What if my home doesn’t meet the electrical requirements?
If your home’s electrical system doesn’t meet the requirements, contact a licensed electrician to upgrade your service panel and wiring.
How long does the installation process take?
Typically, installation can range from a few hours to a full day, depending on the complexity and any unforeseen issues.
Can I install my Rivian wall charger outdoors?
Yes, provided it is placed in a weather-resistant location with appropriate protection against the elements. Make sure it complies with local regulations.